Your First View
Kretes allows to create both: server-side applications and client-side applications - also known as Single Page Applications (SPAs).
In server-side applications you define routes with actions that happen when a given route is visited. Those actions can be used to generate a view in your application. In the server-side context, this view is generated on the server and then sent to the browser.
In client-side applications, the views are created using JavaScript directly in the browser. A client-side application usually fetches data from a remote location and combines into a view on the client-side, that is in the browser. Kretes supports both those approaches out-of-the-box. Let's see how we can use them.
Server-Side View
For the server-side part, we will create a new /hey route that responds with a HTML page that welcomes the visitor. Open the config/server/routes.ts. You should see the following routes:
import fs from 'fs';

import Kretes, { Routes, response, routing } from 'kretes';
const { Route } = routing;
const { OK } = response;

const routes: Routes = {
  // implicit `return` with a `text/plain` response
  Route.GET('/', _ => 'Hello Kretes'),

  // explicit `return` with a 200 response of `application/json` type
  Route.GET('/json', _ => OK({ a: 1, b: 2 })),

  // set your own headers
  Route.GET('/headers', _ => ({ body: 'Hello B', statusCode: 201, headers: { 'Authorization': 'PASS' } })),

  // request body is parsed in `params` by default
  Route.POST('/bim': request => `Hello POST! ${request.params.name}`),
};
Let's remove all those routes and leave only the GET key so that we end up with the following file:
import { Routes, routing } from 'kretes';

const { Route } = routing;

const routes: Routes = [
  Route.GET(...)
];
Let's add a new /hey route as GET. Because we want to return an HTML page, let's get the HTMLString response helper from response.
import { Routes, response, routing } from 'kretes';

const { Route } = routing;
const { HTMLString } = response;

const routes: Routes = [
  Route.GET('/hey', _ => HTMLString('<h1>Hey, Visitor!</h1>'))
]
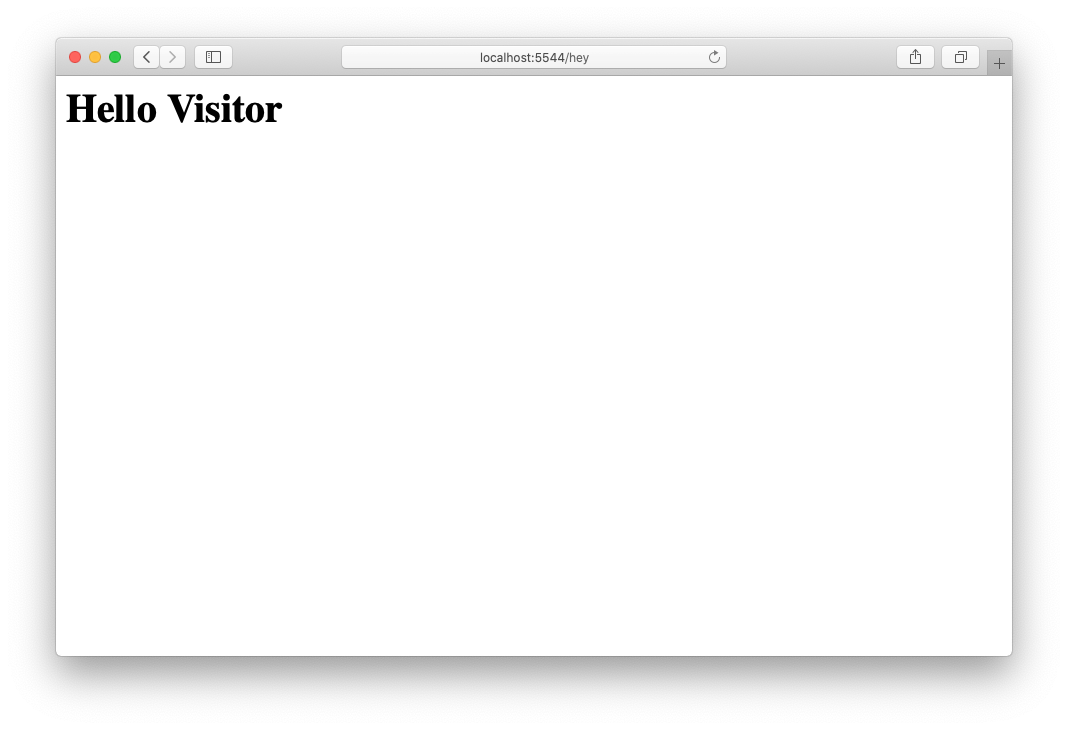
Now go to localhost:5544/hey and you should see the following screen.

Templating
Creating HTML pages directly from strings is a bit cumbersome. Instead, we can define HTML in a file and then load it using another response wrapper called Page.
Create hey.html at the top level in your project directory in views/pages/ with the following content:
<if name>
  <h1>Hello, {name}</h1>
</if>
<else>
  <h1>Hello, Visitor</h1>
</else>
The markup above is Boxwood, an enhanced version of HTML that supports conditional statments, loops and much more using a familar syntax.
Now, adjust the /hey route by using the Page helper to read the hey.html.
import { Routes, response, routing } from 'kretes';

const { Route } = routing;
const { Page } = response;

const routes: Routes = [
  Route.GET('/hey': _ => Page('hey', { name: 'Alice'}),
]
By default, the Page response wrapper looks for files in views/pages. It is also possible to add some parameters and then display them using curly brackets, e.g. {name}.
Layouts
Our /hey route doesn't generate a proper HTML yet. We are missing the HTML structure with the <html>, <head> and <body> tags. Those sections are usually common across different pages in the application. We can put this structure into a layout and reuse it for each page without repeating it.
Let's create the index.html layout in views/parts/layouts:
<!DOCTYPE html>
<html lang="en">
<head>
  <meta charset="UTF-8">
  <meta name="viewport" content="width=device-width, initial-scale=1.0">
  <link rel="stylesheet" href="https://unpkg.com/tailwindcss@1.3.0/dist/tailwind.min.css">
  <title>Document</title>
</head>
<body>
  <slot />
</body>
</html>
The <slot /> part designates where each page should put its content. Now, in hey.html you need to specify the layout to use. Similarly to TypeScript, we will import it using the <import> tag.
<import layout from="layouts/index.html" />

<layout>
  <if name>
    <h1 class="text-4xl">Hello, {name}</h1>
  </if>
  <else>
    <h1 class="text-4xl">Hello, Visitor</h1>
  </else>
</layout>
In our layout, we can also import a partial using <import> to display the navigation bar.
<import nav from="nav.html" />

<!DOCTYPE html>
<html lang="en">
<head>
  <meta charset="UTF-8">
  <meta name="viewport" content="width=device-width, initial-scale=1.0">
  <link rel="stylesheet" href="https://unpkg.com/tailwindcss@1.3.0/dist/tailwind.min.css">
  <title>Document</title>
</head>
<body>
  <nav />
  <slot />
</body>
</html>
Put the nav.html in views/parts with the following content:
<ul class="flex justify-between w-full border-b-2">
  <li>Home</li>
  <li>Dashboard</li>
  <li>About</li>
</ul>
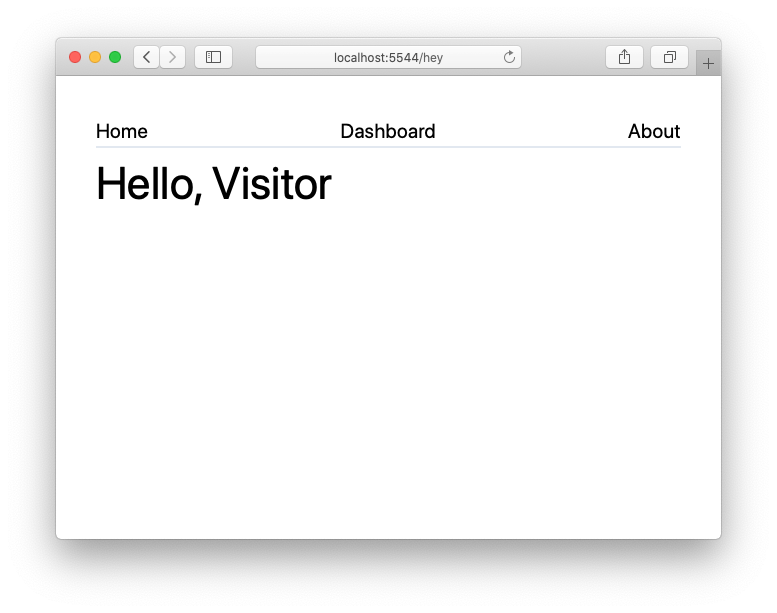
Now, when visiting /hey in your browser, you should see the following page:

Client-Side View
Found a mistake?Found a mistake? Would you like to suggest an improvement?
